Menu
Call This Saturday Get $50 Off Today
24 Hour Services
7 Days a Week
Call This Saturday Get $50 Off Today
24 Hour Services
7 Days a Week

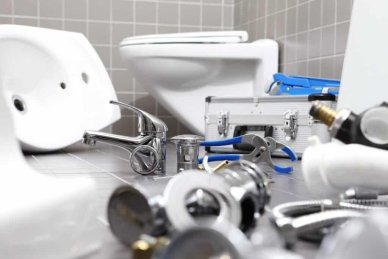
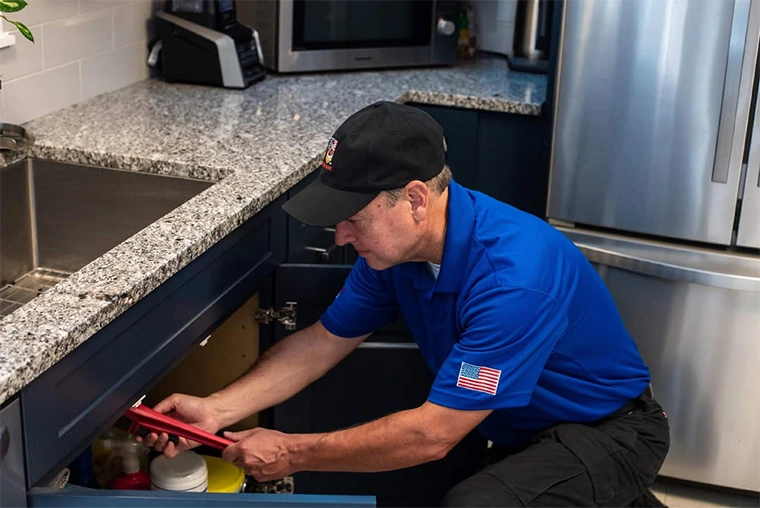
Over the years, sinks accumulate rust and dirt which calls for reglazing to prevent

Prepare the sink to be reglazed. It is important to clean the sink prior to its repair. This includes using cleaning agents to remove stains that can be wiped off the sink as well as removing the old silicone caulk thoroughly. To ensure adhesion later, use an acid paste to remove the old silicone caulk. You might also want to use a degreaser to remove whatever dirt is left behind.
Secure the parts that will not be reglazed. If you will not work on the whole sink, protect the other areas with the use of a plastic liner or sheets. Also, include the other areas like the flooring, splashboards, walls and fixtures to prevent unnecessary splashes and damage. Cover the drain with a masking tape to keep debris and dirt from falling into the drain pipe.
Prime the sink. Before reglazing the sink, it is also important to apply primer to the sink. You can either use a spray epoxy primer or a paint brush to apply the primer. Before doing so, use a fine sand paper and sand the edges, rim and sink interior with circular motion. Then, with a lint-free cloth dipped in water, wipe off the remaining dust from the sink and the other areas. Allow at least an hour to dry.
Apply second and final coating. When the primer is dry, it is now time to apply a second coat of primer. This will even out whatever areas that have been sprayed with the first coat in need of coverage. Let it stand for some time with a minimum of an hour, depending on the humidity level present. After the second coating has dried, this is the time to apply the third or final coating. With the use of an acrylic topcoat, spray the last coat evenly on all the surfaces of the sink, in thin stokes. Let it dry before removing the adhesive tapes you have placed to cover some areas.
Replace the sink hardware. After the final coat has set and dried, you can now replace the sink hardware.
Apply caulk. After the final coating has dried and reglazing the sink is done, the last step is to secure the sink and ensure water will not seep through the tiles. Get silicone caulk and reapply it on the newly reglazed sink. To ensure proper application, see to it that the silicone caulk is applied evenly. After applying the caulk, let it seep in and push it into the joint and remove the excess caulk before it dries.

$159 See Offer Details (818) 572-9743 Schedule Now $159…
$159 See Offer Details (818) 572-9743 Schedule Now $159…
$159 See Offer Details (818) 572-9743 Schedule Now $159…
$159 See Offer Details (818) 572-9743 Schedule Now $159…
$58/mo See Offer Details (818) 572-9743 Schedule Now $58/mo…
For many people, plumbing is out of sight and therefore out of mind. If you feel that way right now and you want to change things for the better, then you will want to look into a few tips that will help you prevent a nightmare from occurring. A few…
Learn More