Menu
Call This Saturday Get $50 Off Today
24 Hour Services
7 Days a Week
Call This Saturday Get $50 Off Today
24 Hour Services
7 Days a Week

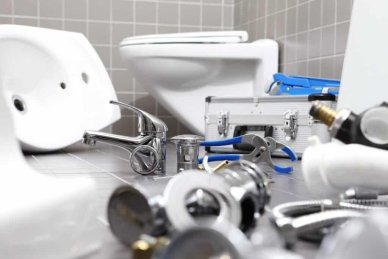
Take note that a shower faucet made of Delta is a single-handle setup that utilizes an internal valve for easier flow control as well as temperature adjustment. This is not the typical faucet that you have in your kitchen, so you need to have a little patience to deal with repairing a Delta shower faucet.

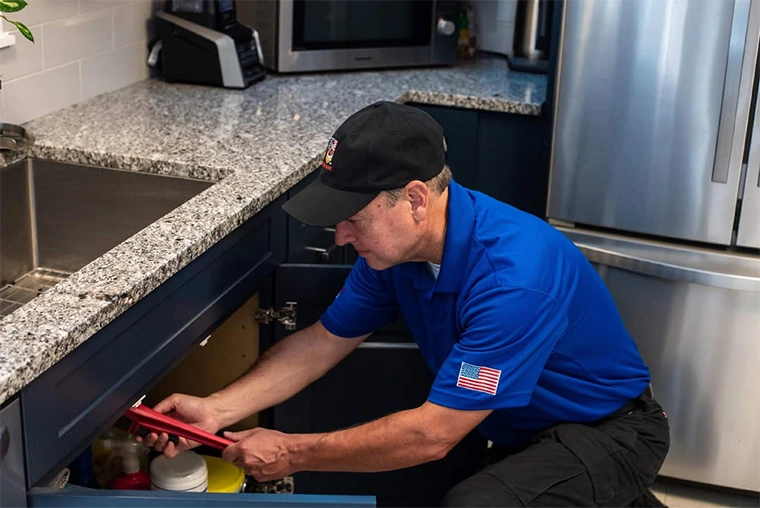
The most common thing that could happen is the deterioration of internal springs and seats that could lead to leaky faucet. A replacement cartridge is necessary along with a couple of hand tools and assembly kit should help you get the job done. Here are some steps that you can follow.
Take note of the connections going through that faucet you have in your shower. For some, there are access panels that have isolated shut-off valves found in the bathroom. Others can be located in adjacent rooms or hallways or closets.
After determining where to find the valve, you need to rotate it clockwise so that you can stop the water flowing from the valve. If you have no isolated shut-off valves at home, then you just have to turn off the main connection. After closing the main water supply valve, you have to release the pressure and excess water by opening the faucet.
Use a screwdriver to remove the faucet handle button. For the handle set screw, use Allen wrench that should be appropriately-sized or a Phillips screwdriver for some models. You can now fully remove the faucet handle and put it aside. After removing the faucet, try to remove the sleeve outside and unscrew the brass-like bonnet.
Try to notice the position of the cartridge labeled Hot Side by grabbing the brass valve stem using a pair of pliers and pull the cartridge outside.
Take the new cartridge with the Hot Side indication on top of the cap using the same position noted when the old cartridge was removed. Make sure that the new cartridge should be seated exactly with tabs atop the white cap. This should be fully engaged with notches along the brass body.
If possible, change the bonnet and tighten it using your bare hands. You should also substitute the outside sleeve with a new one.
Check the position of the rotation limit stop that should go with the new cartridge. This is the positioning notches and adjustable lever found on top of the cartridge. Make sure that the new one will be in the same position as the replaced item.
You can now replace the handle button and handle it after doing the initial installation. Check if the handle is set up properly by opening it fully. Thus, you can now turn back the water supply on to allow the water and air to clear out the new installation. At this point, you should be able to check if there are leaks. Likewise, you can now check if your water temperature control is working fine.

$159 See Offer Details (818) 572-9743 Schedule Now $159…
$159 See Offer Details (818) 572-9743 Schedule Now $159…
$159 See Offer Details (818) 572-9743 Schedule Now $159…
$159 See Offer Details (818) 572-9743 Schedule Now $159…
$58/mo See Offer Details (818) 572-9743 Schedule Now $58/mo…
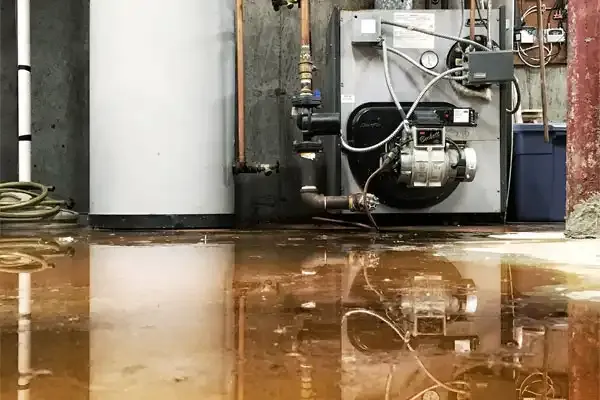
For many people, plumbing is out of sight and therefore out of mind. If you feel that way right now and you want to change things for the better, then you will want to look into a few tips that will help you prevent a nightmare from occurring. A few…
Learn More