Menu
Call This Saturday Get $50 Off Today
24 Hour Services
7 Days a Week
Call This Saturday Get $50 Off Today
24 Hour Services
7 Days a Week

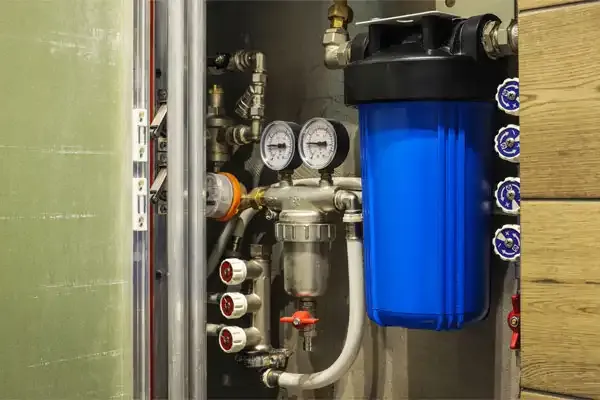
The backflow valve is normally located between the water supply connection and the sprinkler system in your home. This is intended to prevent any flow of water from going backward. This will also ensure that your drinking or potable water supply shouldn’t be contaminated with chemicals or debris from the garden.

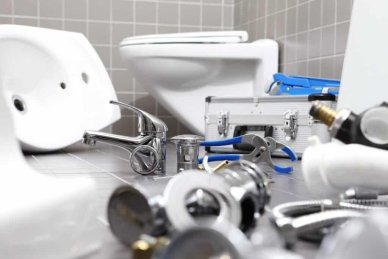
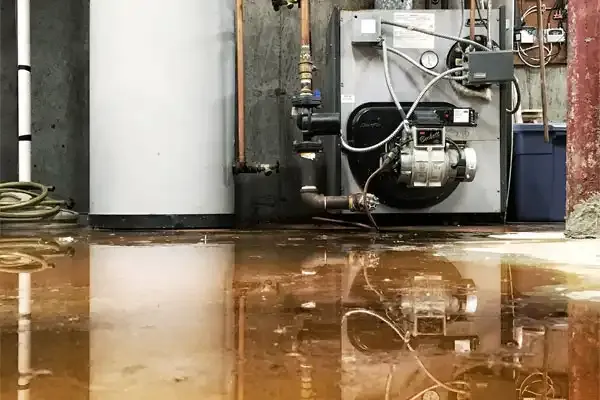
The problem with backflow valves is that they fail over time due to daily pressure and wear. Leaks often occur at the connection point of the cover and the valve body. To repair this, you need to have replacement parts to avoid water leaks that should affect the water pressure in your home. Here are tips on how to fix it.
Try to locate the main valve for turning off your water supply. Upon finding the main valve, you should turn the ball valve lever to the left in a clockwise direction.
Use a wrench to remove the nut from the bell cover. However, try not to strip the nut upon turning the wrench. You may also notice rust that exists on the nut due to prolonged water leaks. You should slide the bell cover from the body of the valve.
If you can notice, there is a poppet and bonnet from the interior of the valve. Gently remove these parts within the body of the valve as they can be in pieces due to steady water leaks.
If you can see any loose pieces, remove these parts as they need to be taken out of the interior before installing new components. Then, you can slide a poppet on the valve and put a bonnet on the poppet.
You have to slide the bell cover back to the valve and verify that it is leveled on top of the valve. Make sure that the poppet and bonnet are aligned properly if the bell cover has remained to be lopsided before you tighten it down.
Just put the nut on top of the bell cover and tighten it manually into the valve. If possible, try not to use hand tools like wrench or pliers which could damage the threads or nut. Simply turn the base lever of the valve by hand to keep it parallel with the pipe being attached.
After following the instructions, it is safe to turn on the water supply to test the installation. After installation, you have to activate the sprinkler system and keep an eye on the backflow device. Make sure there are no leaks from the connection points.
Try replacing the entire valve if your backflow valve body contains a crack. This will be more appropriate than repairing the components inside. Take note that the crack will allow water to leak from the valve which will cause contamination of water and some unnecessary waste.

$159 See Offer Details (818) 572-9743 Schedule Now $159…
$159 See Offer Details (818) 572-9743 Schedule Now $159…
$159 See Offer Details (818) 572-9743 Schedule Now $159…
$159 See Offer Details (818) 572-9743 Schedule Now $159…
$58/mo See Offer Details (818) 572-9743 Schedule Now $58/mo…
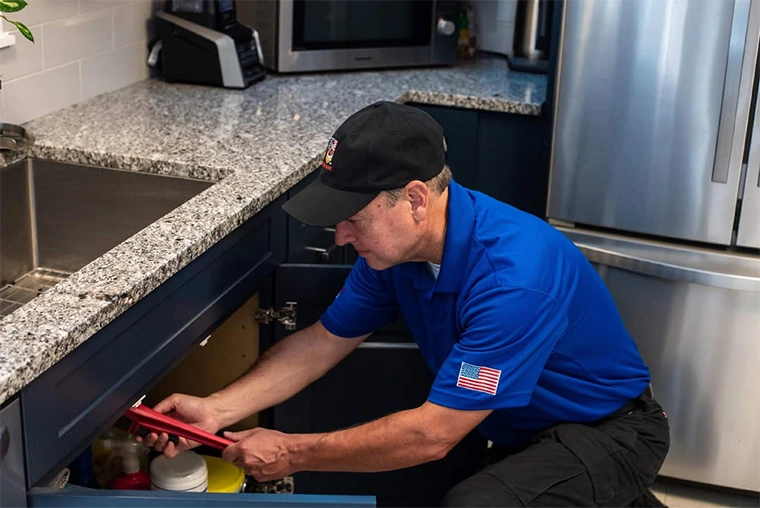
For many people, plumbing is out of sight and therefore out of mind. If you feel that way right now and you want to change things for the better, then you will want to look into a few tips that will help you prevent a nightmare from occurring. A few…
Learn More